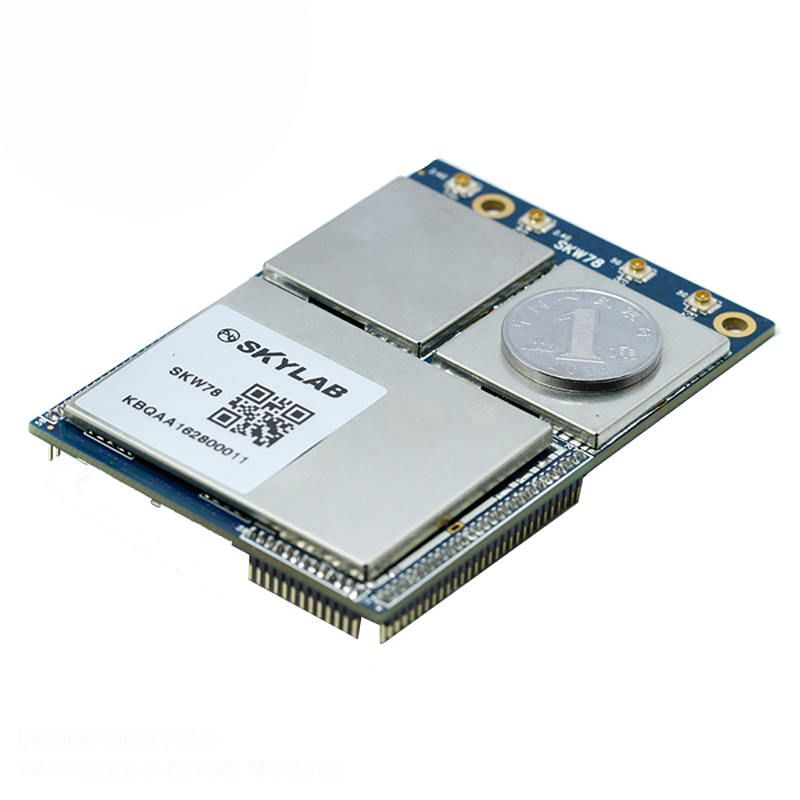
Making Wireless IoT Project Easy, Smart, Secure.
GET A FREE SAMPLEIn this project, you will learn how to communicate the mt7688an OpenWrt with Arduino and how to send data from Arduino to the server using the mt7688an wi-fi module.
In today's tutorial, we will learn how to communicate the Wi-Fi module with Arduino and see how Wi-Fi works. We're going to stream the data to the real world and display it as a graph.
We will transmit the temperature and humidity data of the air to the server using the DHT11 sensor and the MT7688AN Wi-Fi module.
Wifi Fidelity is a term common for products that use 802.11 technology. Wi-Fi networks operate at 11 Mbps or 54 Mbps data rates in the 2.4 GHz and 5 GHz unlicensed radio bands.
Wi-Fi-enabled devices can send and receive data wirelessly from locations with wireless access. Access points located in a Wi-Fi location transmit RF signals to Wi-Fi-enabled devices.
These Wi-Fi-enabled devices can receive the signal if they are within range of the access point. The data transfer rate depends on the speed of the access point's line.
Radio signals are the basic working principle of Wi-Fi. It is made up of three essential elements.
Working principle of the mt7688an OpenWrt
Radio signals are transmitted by antennas and routers, and they are received by Wi-Fi receivers such as computers.
After completing the circuit follow as given. We see the results on the server. You will see the results in the “Public preview” section of the website.
1. First, users need to create an account on ThingSpeak.com, then log in and click Start.
Wi-Fi MT7688AN with Arduino
2. Now go to the 'Channels' menu and click on the New channel option on the same page to continue processing.
mt7688an OpenWrt -elephant-Arduino-1
Now you will see a form to create a channel, fill in the Name and Description according to your own. Then fill in the 'Humidity' and 'Temperature' in labels 1 and 2, tick the checkboxes for these 2 labels and also the 'Make public' checkbox in the form below, and finally Save channel. Now your new channel has been created.
Now click on the ‘API Keys’ tab and save the Write and Read API keys, here we just use the Read key. You need to Copy this key to char * api_key in code.
mt7688an OpenWrt -elephant-Arduino-3
Code can communicate to display on LCD. You can connect to LCD as shown in the code and all the results show on LCD and can also be displayed on the monitor of the Arduino.
The mt7688an OpenWrt is a very popular wifi module in Vietnam, using the mt7688an chip with integrated 2.4Ghz Wi-Fi that is easy to program directly on the chip. Currently, this line has many module versions, popularly common are ESP01, ESP07, ESP12.
Some pin-outboards make it easy to connect to peripherals such as Nodemcu, Wemos D1... In this article, I will guide you to familiarize yourself with the MT7688AN01 WIFI module.
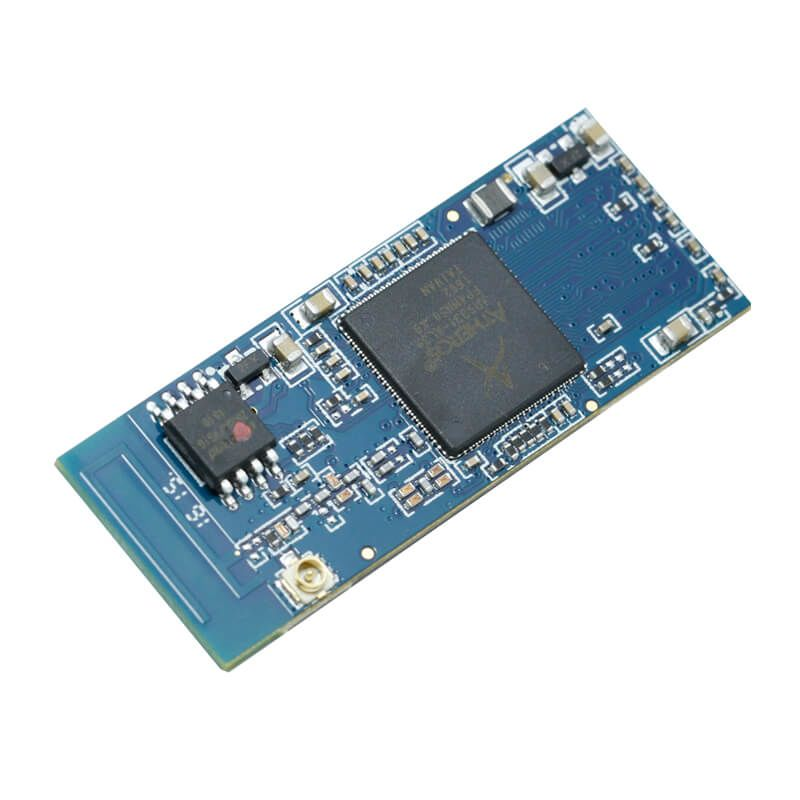
When purchased, the AT command firmware is available at 115200 baudrate for easy communication with the peripheral (MCU)
We will get acquainted with this module by communicating with the PC to send the test AT Command. Please pay attention to using the newly purchased module (with AT firmware available) to communicate. If you use the old module, buy it again, the previous user may have loaded another firmware, leading to the inability to communicate.
Protocol Operation of the mt7688an OpenWrt
Unlike UDP protocol, which can immediately send packets without establishing a connection, TCP requires establishing a connection before it starts sending data and terminating the connection when sending data is complete. Specifically, TCP connections have three phases:
Conclusion
To establish a connection, TCP uses a process embarked 3 Steps (3-way handshake ) before the client tries to connect to a server, the server must register a port and open that port for connections: this is called a passive open. Once a passive open has been established, a client can initiate an active open.
Copyrights© Shenzhen Skylab Co.,LTD All Rights Reserved.


