Making Wireless IoT Project Easy, Smart, Secure.
GET A FREE SAMPLEWhenever you buy new equipment or device for your office or home, chances are that you might experience inconvenience while setting it up. For some people, the installation of new devices or equipment is a delight. But for someone, it can also be a chore and they would like to complete the installation ASAP. There are even some people who don’t even try installation as they believe a little mistake may create a big hassle. Setting up the AP WiFi module is one such task and most people don’t know how to do it.
We are here to help you set up your AP module without any hassle. In this guide, we will try to make this process smooth and simple with our expert advice and instructions. You will learn how you can set up AP and things that are essential for a successful setup.
The guidelines we will share here are for the typical or basic AP WiFi module. However, the guidelines may differ according to different systems or devices. There are numerous things that you will require to set up your access point (AP). Here are those necessities that you must know before we move on to the setup section.
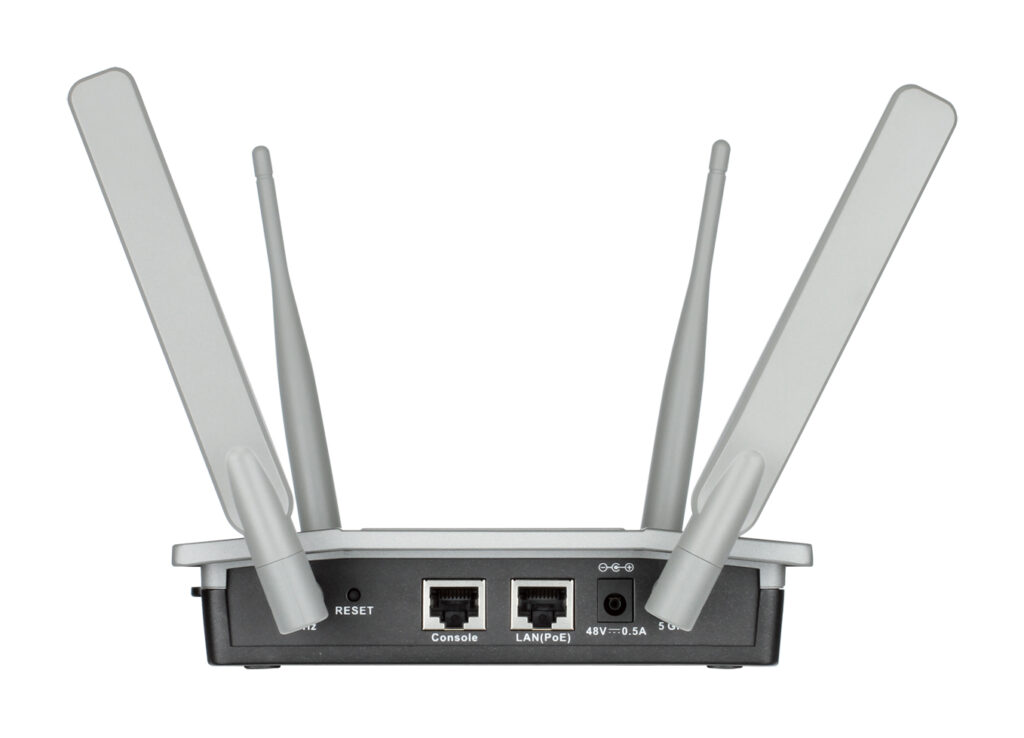
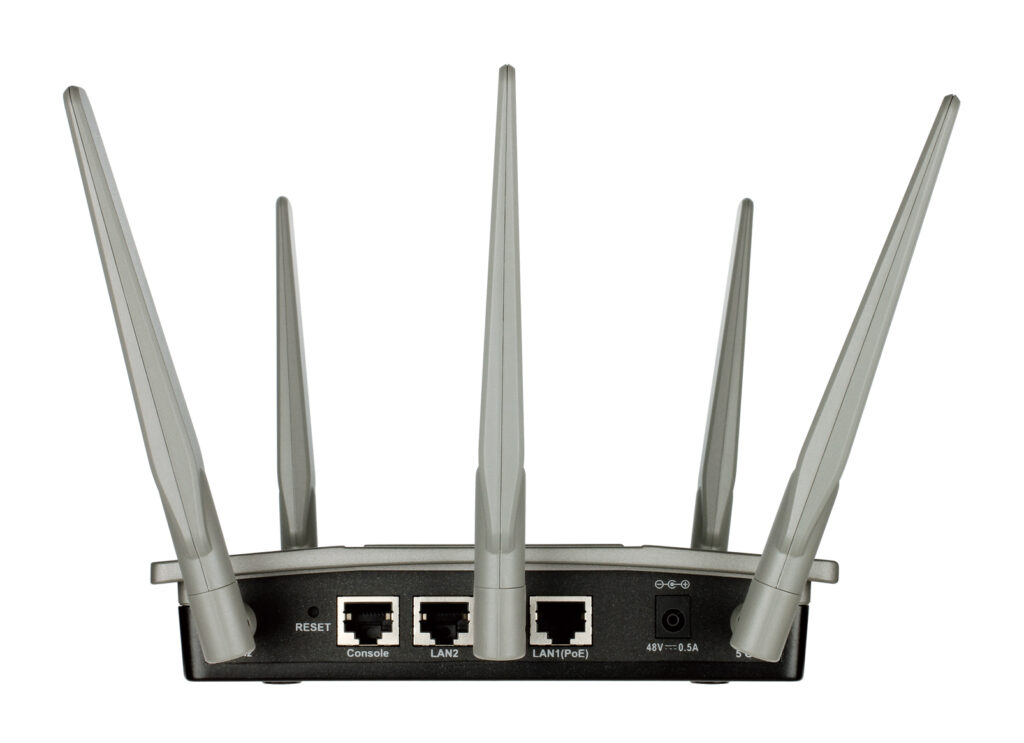
The Access Point (AP): the key player in the list is the access point. AP provides an extra location for the end device(s) to establish a connection with the LAN. Thus, it expands the coverage area of the KAN.
A Router or Switch: You also require a router or switch to set up your AP module. These are the devices that you need for the management and distribution of the information transferred from, to, and among end devices and APs within the LAN (local-area-network).
Ethernet Cables: these cables are the wires that are essential for the high-speed transfer of data among other devices and access points. Therefore, you also need Ethernet cables to complete the AP WiFi module setup.
A DC/AC Adapter (if received): A few access points (Aps) may also require a DC/AC power adapter for functioning. However, many modern-day APs support PoE (Power-Over-Ethernet) that eradicates the requirement of external AC/DC adapters.
A Computer: Of course, you also need a computer for advanced or basic network configuration or access points. Therefore, make sure that you also have a computer that you can use for the AP module setup.
Apart from these things, you may also require some other items according to the situation and hardware. Such items may be a modem, wall mounts, extension cords, AP driver installation discs, and other things. If any of such elements or items is missing, you may find it impossible to complete the AP module setup.
Once you have all the necessary items ready that we discussed above, it is time to begin the AP module setup. Here are the different steps involved in setting up your AP WiFi module:
Perform this step if you currently have no switch or router. First of all, you have to identify the most appropriate device for your device. If you have a WiFi router, you should position it at the most appropriate location, according to the access point’s potential location. Choosing the right location is essential to ensure the most effective spreading of the coverage. It will also guarantee minimum interference levels. If it’s the wired router or a switch, you should deploy it somewhere where the device must not obstruct surrounding solutions and any other activities.
After the most suitable placement of the switch or router, connect the device to the power outlet. Now, switch the router or switch on. If you are using a PoE-compatible device, it will not need the power outlet as it can run on the Ethernet cable only. Moreover, numerous devices automatically turn on right after you connect them to the power source.
In the second step, you first have to locate a reliable place for your device. If your LAN has other WiFi devices, like a router, you should position your AP somewhere where its WiFi signal will have no or minimal interference with WiFi devices inside the local area network. Also, make sure that the device must offer excellent coverage according to your premises. If you are installing the AP WiFi module for introducing a WiFi connection to the wired local area network, position it somewhere where the WiFi signal should cover the best possible range with minimum hurdles and interference.
If your device runs with the help of a DC/AC adapter, you should connect it with the AP and get it into the electrical socket. In the case of a Power-Over-Ethernet connection, you should also consider the third step we discuss below.
In the third step, you need to connect your cables. There are different cables that you will have to connect. Use the Ethernet cable for connecting the AP to your router. You need to insert the cable into the local area network port on your router and also into your primary Ethernet port available on the AP. It will introduce the AP to the LAN created by the router.
Link your computer with the router using the Ethernet cable. Insert the cable into the port of the LAN on your router as well as into your computer’s Ethernet port. It will put your computer on the network, allowing LAN management and direct AP. If you want to ensure internet access over the LAN, you can consider the Ethernet cable for establishing a connection between the modem and the router. You should plugin the cable into the primary port of the Ethernet on your router as well as into the modem’s Ethernet port.
It is the final step. Most modern-day devices come without the hassle of performing manual local area network setup. Therefore, you will most probably not have to perform the manual setup. After connecting everything properly and the devices are acknowledging the presence of each other on the system, you are all set to use your AP WiFi module. If you need help on the basic AP or network, the device package also includes a user manual. This user manual contains the configuration instructions. You can read this user manual to easily perform the necessary configuration.
You also have the option of changing the advanced and optional settings of the router. To do so, you will have to enter the router settings page on a web browser with the help of the router’s IP address. The IP address is usually 192.168.1.1 or 192.168.0.1. You will find your router’s IP address inside the user manual.
Congratulations! Your access point module setup is complete now. You can now start enjoying enhanced wireless signals and expanded coverage with your new access point. If you are still having trouble connecting to the network, you should talk to your ISP. Or, you can also hire a professional who can set up things accurately for you.
After setting up your AP WiFi module, you would be expecting the most reliable and smooth connectivity. However, there can still be some issues with the access point after the successful deployment. You can avoid such problems through some basic practices. Here are some helpful tips that can help you keep enjoying the most reliable AP services without any obstacles.
It is the same point that we discussed at the beginning of this article. You will have to ensure that the location of your access point is just perfect. You must not keep your access point around the structural metal. If it is, there will be radio interference. In this situation, your wireless network will not work effectively. If there is a metal object around your access point, you should move it away to keep enjoying perfect and uninterrupted coverage.
The most organization keeps their wireless APs near or on the ceiling to help WiFi clients get the most desirable range. However, it may result in difficulties in getting power to your AP. Instead of using extension cords, you should prefer PoE. It provides the AP with power over idle cables inside the Ethernet cable. Distinct modules of PoE at both cable ends make sure that the networking hardware does not expose to the cable’s electricity.
Immediately after you set up your AP WiFi module, you should reset its internal password. If you don’t do this, anyone can access the configuration of your access point. It is easy to find the default access point password on the internet. Therefore, you must change the password after setting up the access point.
Sometimes, people purchase additional wireless AP in an attempt to ensure enhanced wireless coverage. If an inexperienced person tries to set up this AP like the previous AP, it might cause trouble. Often, we cannot configure two access points with the same DHCP scopes. However, some access points may also fix the conflicts of IP addresses on their own before they assign IP leases. If they can’t the DHCP scopes overlapping will cause issues for the end-user.
Do not believe that your wireless connection is secure. The biggest problem is that people don’t need to access your facility in person for connecting to the wireless network. It means that you must consider wireless encryption to secure your wireless network. To make your network more secure, you should treat the wireless network just like the internet connection. Deploy mechanisms such as VPNs before you allow people to access your wired networks.
Most IT professionals suggest you must not broadcast the SSID of your wireless AP. Even if you don’t broadcast it, a hacker can still easily discover the SSID. We recommend you use SSID names. It will help a lot.
Even if you buy a cheap price wireless AP, it should have several security features that you must utilize. For instance, most APs allow us to restrict access to the network through MAC address. A few wireless APs also come with alerting mechanisms. Such mechanisms send an email if someone is trying to join your network repeatedly with an incorrect password. Therefore, you must not forget to use all security features that come with your AP WiFi module.
A great piece of advice for all WiFi network administrators is that they should connect every single WiFi access point to the UPS (backup batteries). A wireless user will have no network access if there is a power failure. Having no network access is not the only concern. Imaging there is no power for a few seconds only. That would be enough to cause a long wireless session disconnection. Because several persons are connected to the same wireless network, they all would face the problem because of this power blip.
Most devices will reestablish the lost connection automatically. However, it will create a lot of mess if the network requires every single user to authenticate before connecting to the backend network. They will be locked out completely until the re-authentication process completes. It may result in receiving many calls from chaotic users.
A few wireless APs also allow us to manually adjust the strength of signals via a Web interface. It is always tempting to utilize the max signal strength. But, does it make sense to push WiFi signals far across, such as to your parking lot? Before you adjust your signal strength, you must consider your WiFi network boundaries. Then, you can adjust the strength of signals accordingly.
It is often an overlooked thing, but you must fill out your AP WiFi module warranty card that you have received with the product. Bad luck can happen anytime, so you must be ready for it. Usually, access points work flawlessly for a year. By filling out your warranty card, you will have the peace of mind that you will get free service if something bad happens during the warranty period.
Need to know more about access point wireless modules? Contact us.
Copyrights© Shenzhen Skylab Co.,LTD All Rights Reserved.


